Hello Lovely Savers! Welcome to my fun DIY door painting project!
Handsome Man and I had been planning on painting our front and back doors for quite a while and I finally talked him into letting me do it! (We only bought the paint 3 months ago…)
I think part of his hesitation came from the color I was requesting, a bright teal, and part of his hesitation came from thinking it would be a bigger project than it is. Also maybe his hesitation came from the fact that I was the one who was going to do it and there was a very real possibility of me spilling paint everywhere. Whatever, I didn’t. So there.
- To start this project we picked out the color and bought a gallon of porch and floor paint. We didn’t mean to buy the whole gallon, there was some miscommunication between us and the paint lady, but it’s fine for the two doors. We will have extra for touch ups down the road.
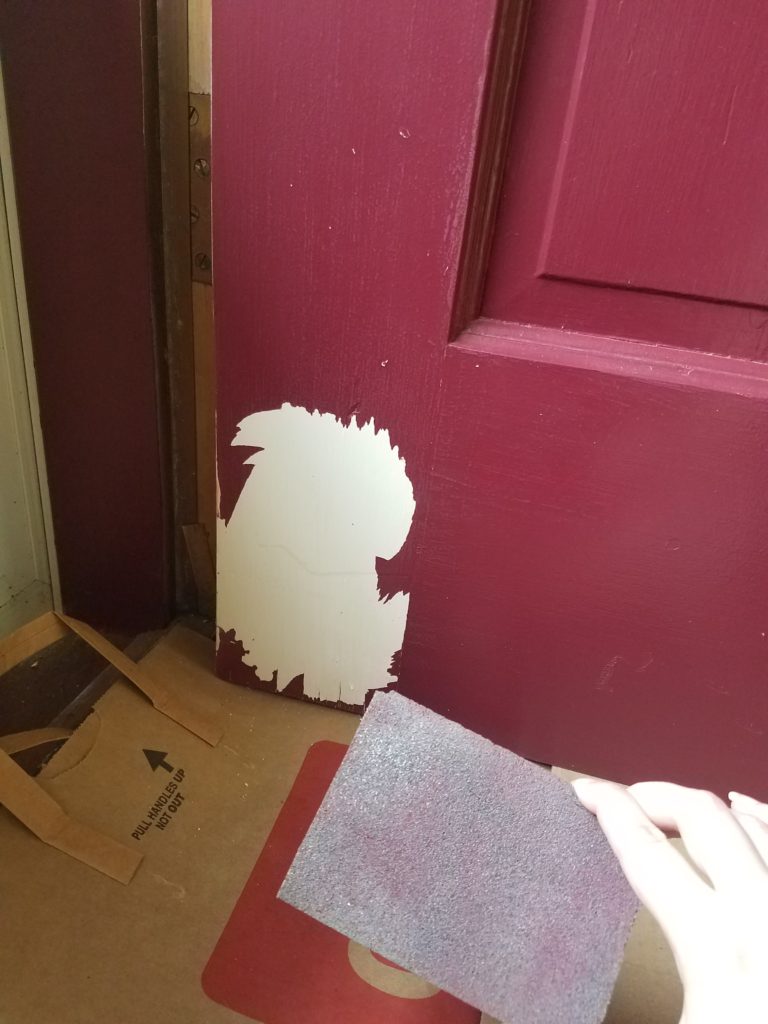
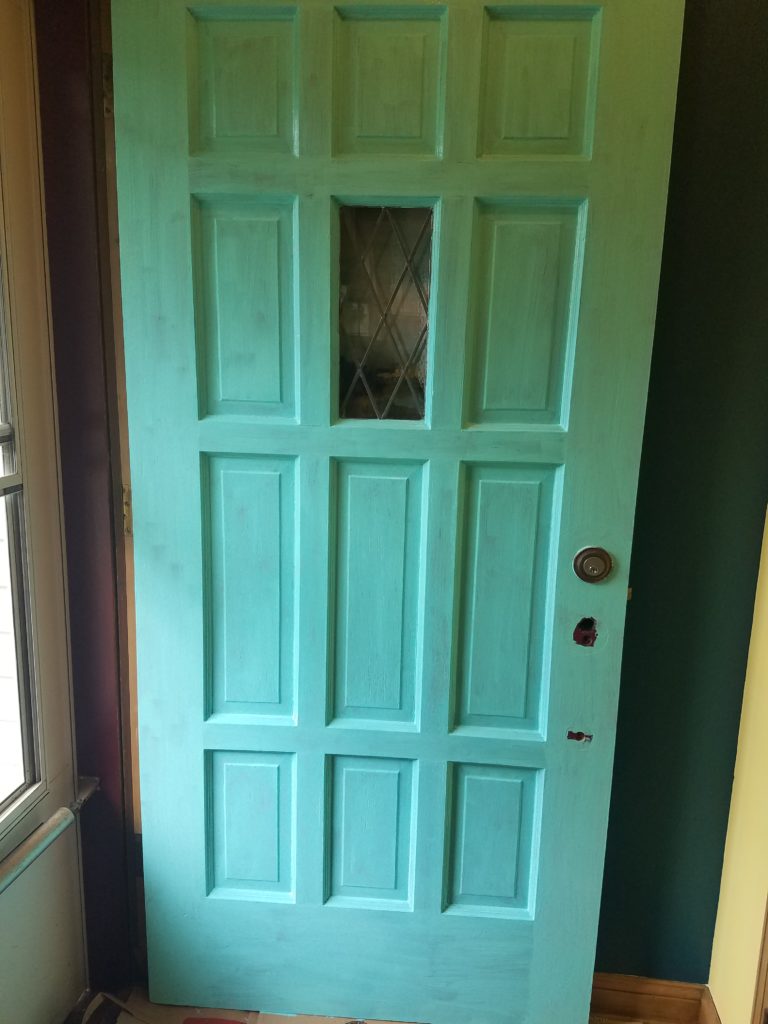
2. To get the doors ready for repainting (ours were already painted, if your doors are not, I suggest sanding down the finish and priming it) I wiped down the doors and then sanded them. I made sure to sand extra where there were drips from the last paint job and where some of the paint was peeling. If your paint is peeling, try to get as much of it off as possible so the new coat doesn’t peel later. After sanding I wiped the doors down again.
3. How do you paint a door?! Well for the front door, handsome man removed the handle but you can also just tape like I did with the back door. Then I googled. Because I don’t instinctively know how to paint a door and now that Ted is finally trusting me with this I cannot afford to mess it up! I found several tutorials on Pinterest where they even marked out the parts of the door and the order you need to paint them in. Awesome. Color by numbers? I can do that.
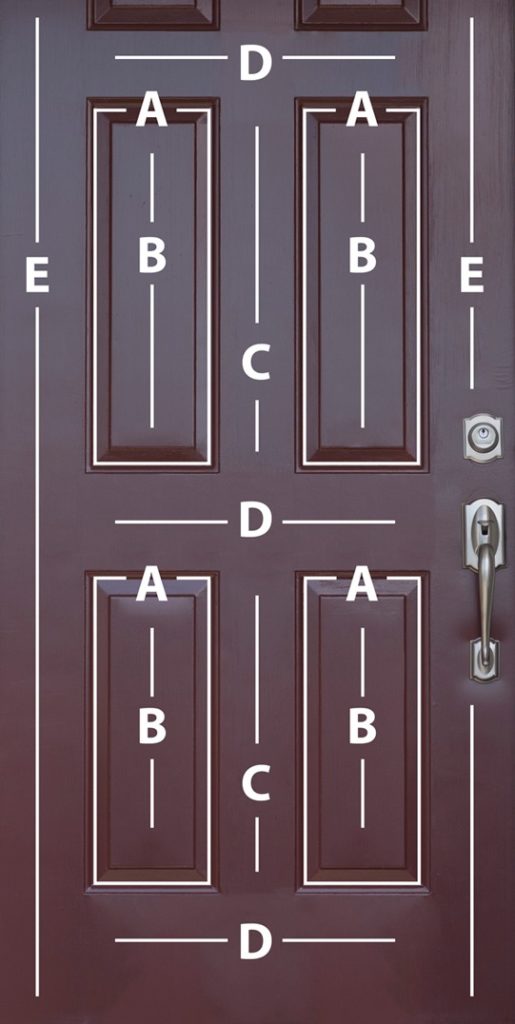
4. So according to my handy dandy google directions, I used a brush to first paint the tricky bits in the groovy areas (so official, I clearly know what I am talking about.). Then following the pattern on the guide I painted the rest with a brush. Handsome Man has an unnatural hatred for brush strokes so I only did that for the first coat.
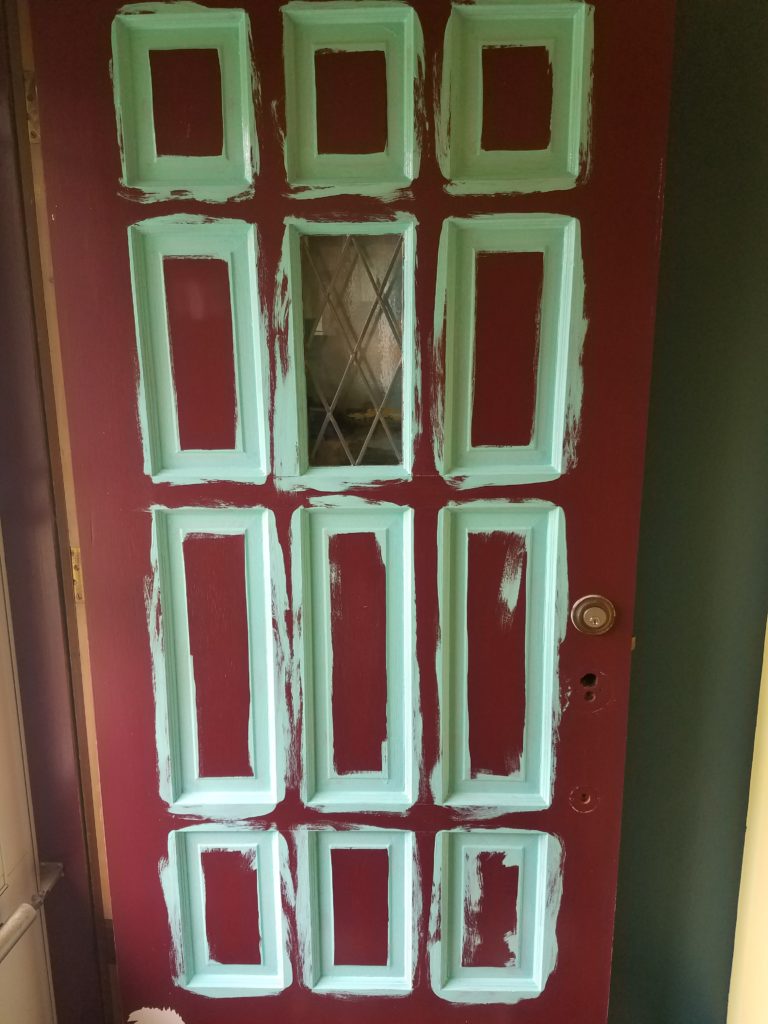

5. For the second coat I repeated the instructions, using the brush on the tricky bits and then a small roller to complete the rest of it. We only needed two coats but you may want to do a third.
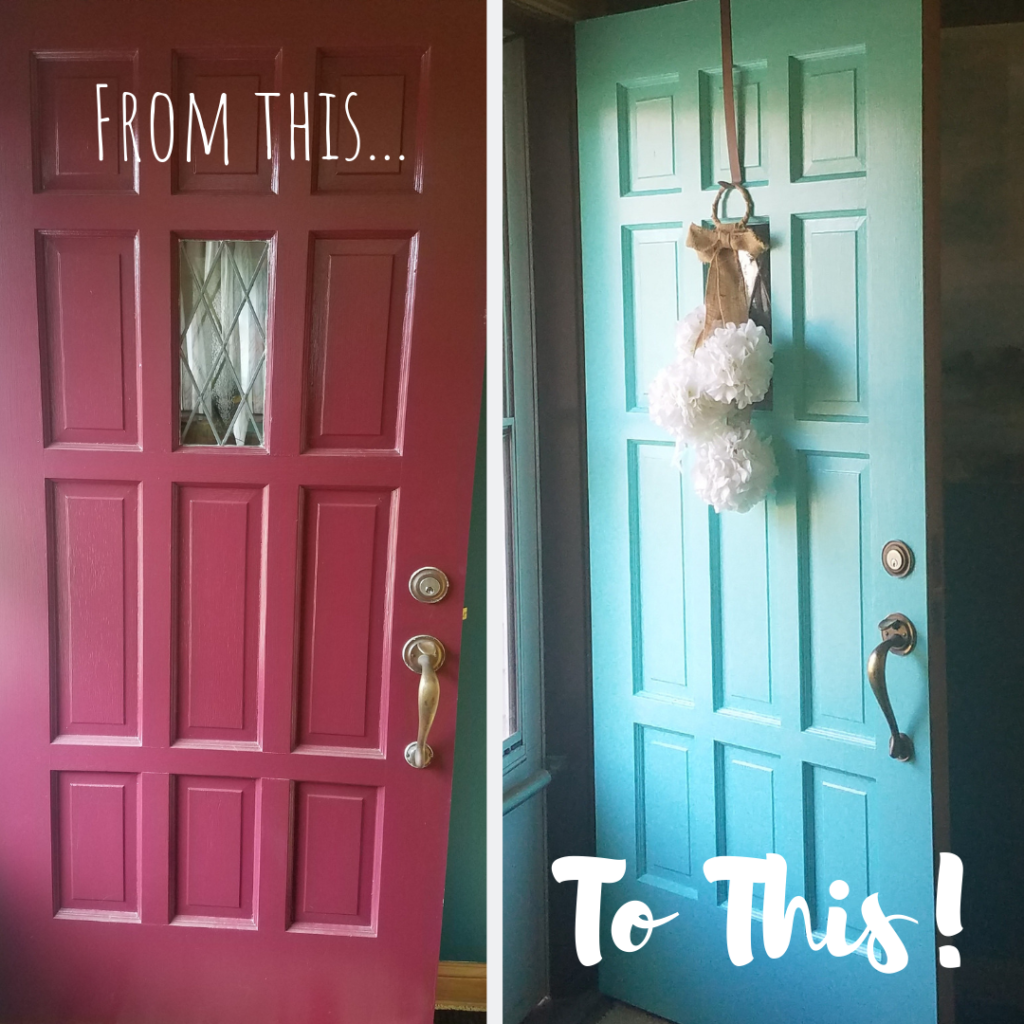
Ta Da! A beautifully painted door!!!
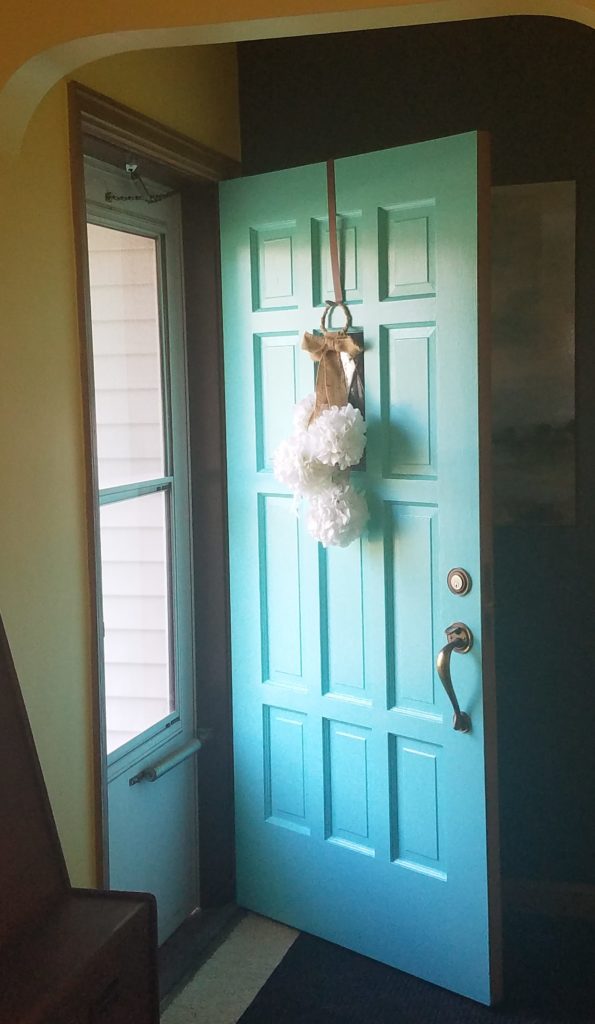
It completely transforms the front area, and brightens up the front of the house. To see all of the projects we tackled on the front of our house (and under $100!) read the full blog here.
Thank you so much for all of your support, lovely savers, I love sharing my tips and tricks for money and how to deal with everything in between. Please join the Facebook Group: Sugar and Savings- Budgets and Saving Money to be a part of our community of other lovely savers. We share our thoughts, and plans with money, and we celebrate each other’s wins! And each month I go live to answer YOUR questions about personal finance!
Until next time, wishing you all Sugar and Savings,